OrthoStreamXP user guide
OrthoStreamXP adds real-world aerial photos to your X-Plane 12 scenery while you fly. It downloads the pictures for the area around your aircraft, turns them into X-Plane textures, and keeps them on your disk for your next flight.
Contents
- Installation: what you need and how to install it.
- First setup: the six-step setup that runs the first time you open OrthoStreamXP.
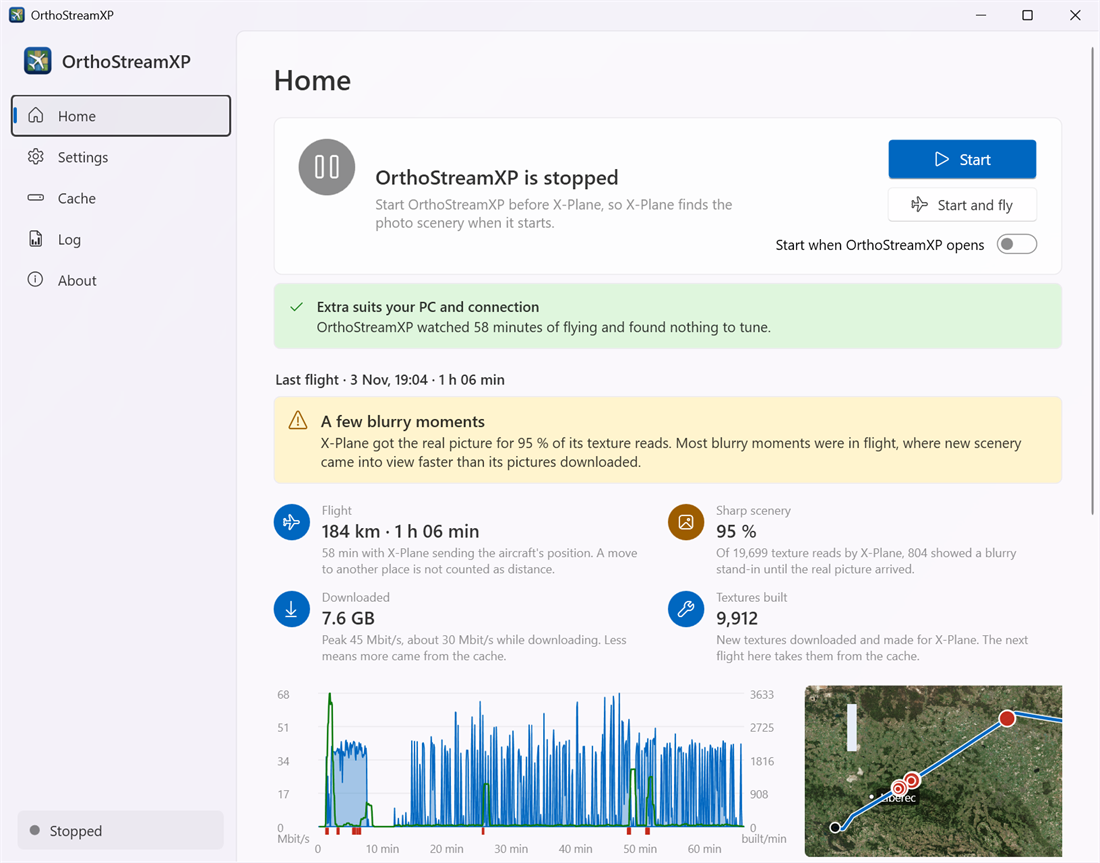
- Flying: the start order, the Home page, and the report you get after each flight.
- Settings: quality and ground detail, folders, downloads, colours, seasons and exposure, night lights and photos at night.
- Cache: how much disk space the scenery uses and how to free it.
- Packages: downloading the ground mesh of a whole region, the quickest way to get scenery packages.
- Troubleshooting: common problems, the log, updates, uninstalling and reporting a bug.
- Questions and answers: what OrthoStreamXP does and does not do, choosing the packages folder, switching from AutoOrtho.
The short version
- Install WinFsp, then OrthoStreamXP, then restart your computer.
- Open OrthoStreamXP and finish the setup: X-Plane folder, scenery packages (download a region there, or choose the folder of your own), cache folder, quality.
- Every time you fly, click Start and fly in OrthoStreamXP. It starts the scenery first and then X-Plane.
- Load a flight. A new area takes a few minutes the first time; after that it comes from the cache.
Remember: start OrthoStreamXP before X-Plane. X-Plane looks for scenery only when it starts.