Settings
User guide › Settings
The Settings page has seven tabs. Changes are saved straight away, and a short Saved note confirms each one.
Settings can be changed only while OrthoStreamXP is stopped. While the scenery is streaming, the page shows the settings in use but you cannot edit them: a banner says Streaming is running. Stop it to change settings. Click Stop streaming in the banner to stop it. Changes apply from the next start.
At the bottom of every tab:
- Show the file shows the settings file (
%LOCALAPPDATA%\OrthoStreamXP\orthostreamxp.ini) in Explorer. - Run the setup again reopens the first setup.
Quality
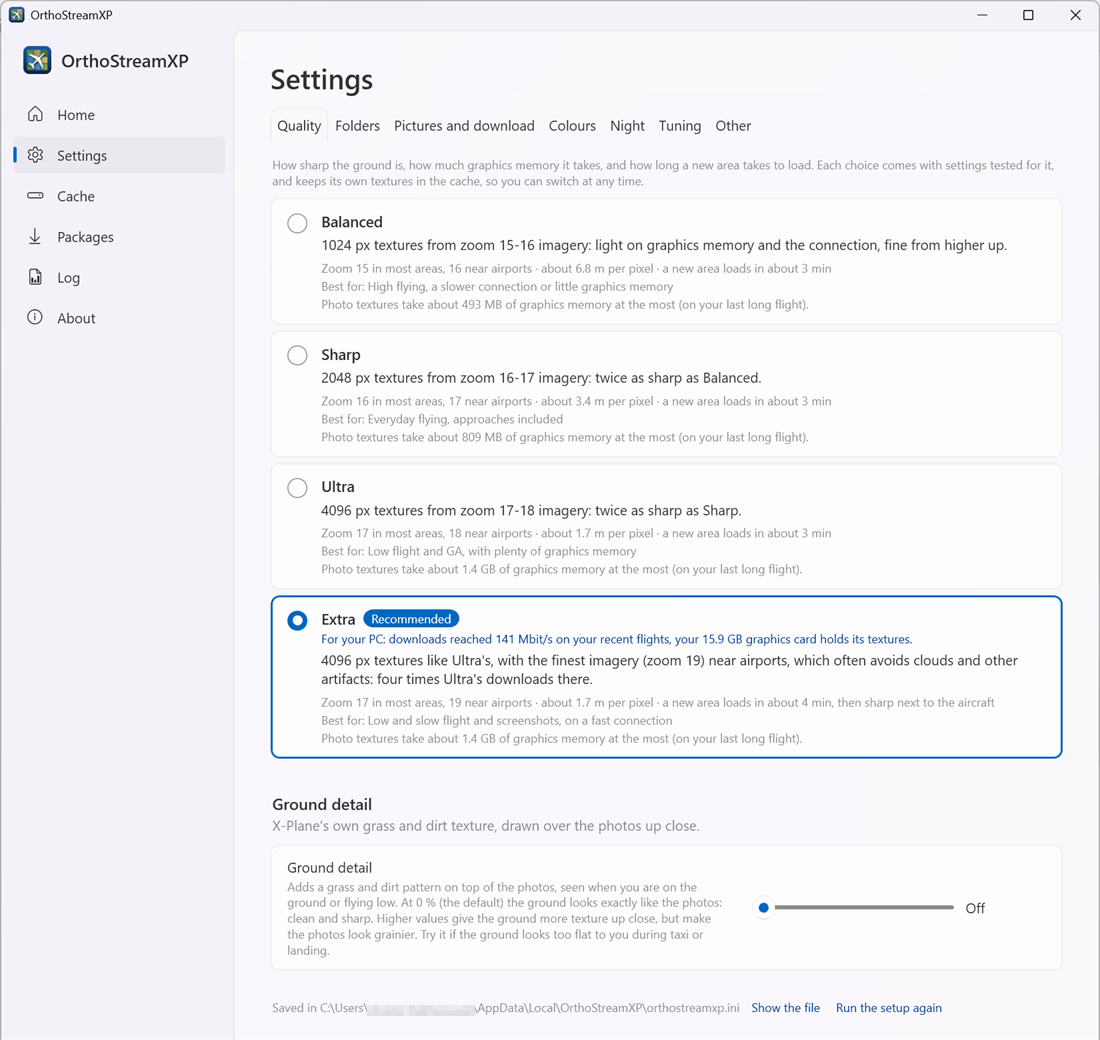
Choose how sharp the ground is. Each preset comes with settings tested for it and keeps its own textures in the cache, so you can switch at any time without losing anything.
| Preset | Textures | Imagery zoom | Resolution | Best for |
|---|---|---|---|---|
| Balanced | 1024 px | 15, 16 near airports | ~6.8 m per pixel | High flying, a slower connection or little graphics memory |
| Sharp | 2048 px | 16, 17 near airports | ~3.4 m per pixel | Everyday flying, approaches included |
| Ultra | 4096 px | 17, 18 near airports | ~1.7 m per pixel | Low flight and GA, with plenty of graphics memory |
| Extra | 4096 px | 17, 19 near airports | ~1.7 m per pixel | Low and slow flight and screenshots, on a fast connection |
Extra is Ultra with the finest imagery (zoom 19) near airports, which often avoids clouds and other artefacts. Elsewhere it is the same as Ultra. Near airports it downloads four times as much as Ultra, and a new area takes a little longer to load: about 4 minutes, then sharp next to the aircraft.
Each card shows the imagery zoom, the metres per pixel, roughly how long a new area takes to load, and how much graphics memory the photo textures take. Until you have flown, that memory figure comes from a test flight; after your first long flight, it is measured on your PC.
- The Recommended badge marks the preset that suits your connection and graphics card, with the reason below it.
- If a preset's photo textures plus X-Plane's own needs (about 5 GB) would be more than your graphics card has, its card shows a warning. X-Plane may then stutter or lower its texture detail; a smaller preset is safer.
Ground detail
Up close, X-Plane can sprinkle its own procedural grass, shrubs and dirt over the ground. This helps X-Plane's blurry default textures, but on sharp aerial photos it looks like noise: dark speckles and pale stony patches that the real imagery does not have. The photo scenery packages ask for it in every photo tile, so you see it with any scenery packages.
The Ground detail slider sets how strong this effect is:
- Off (0 %, the default): the photos are shown as they are.
- 10–90 %: a lighter version of X-Plane's effect, for some extra texture when you are low.
- 100 %: X-Plane's full effect, as the packages define it.
Your scenery packages are not changed: OrthoStreamXP adjusts the terrain files as X-Plane reads them. The in-between strengths are made from X-Plane's own decal files, so they need the X-Plane folder to be set. Like every setting, a change applies from the next start.
Folders
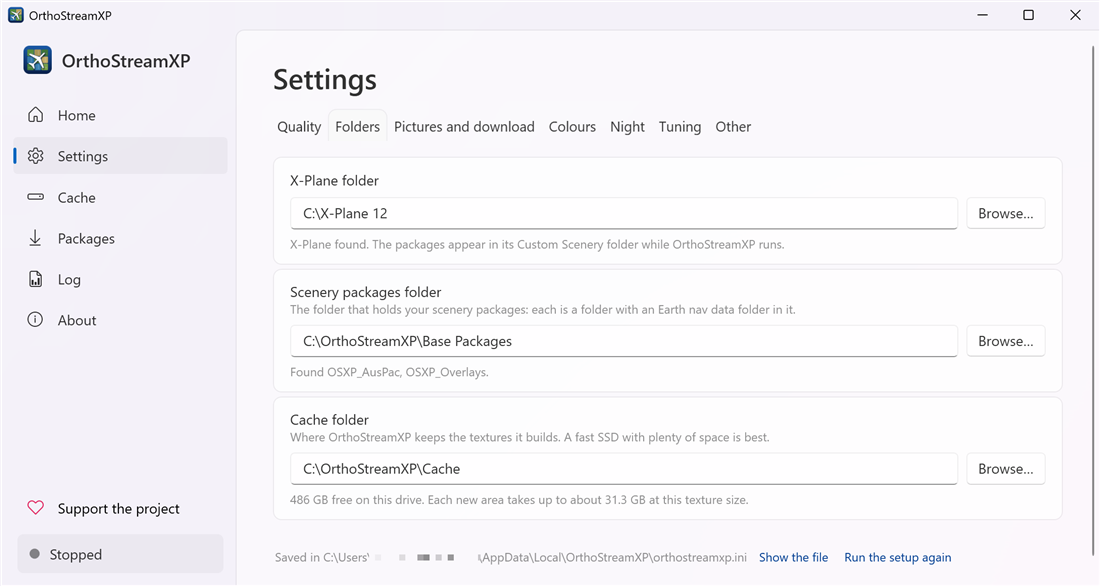
- X-Plane folder: the X-Plane installation where the packages appear (in its
Custom Sceneryfolder). - Scenery packages folder: the parent folder of your packages. The line below it lists the packages found. Keep the packages of each source (regions downloaded in OrthoStreamXP, Ortho4XP, OrthoStudio XP...) in a folder of their own, and choose here the one you fly with: see Packages › One folder per source.
- Cache folder: where the textures are kept. The line below it shows the free space and how much a new area takes at the current texture size.
Pictures and download
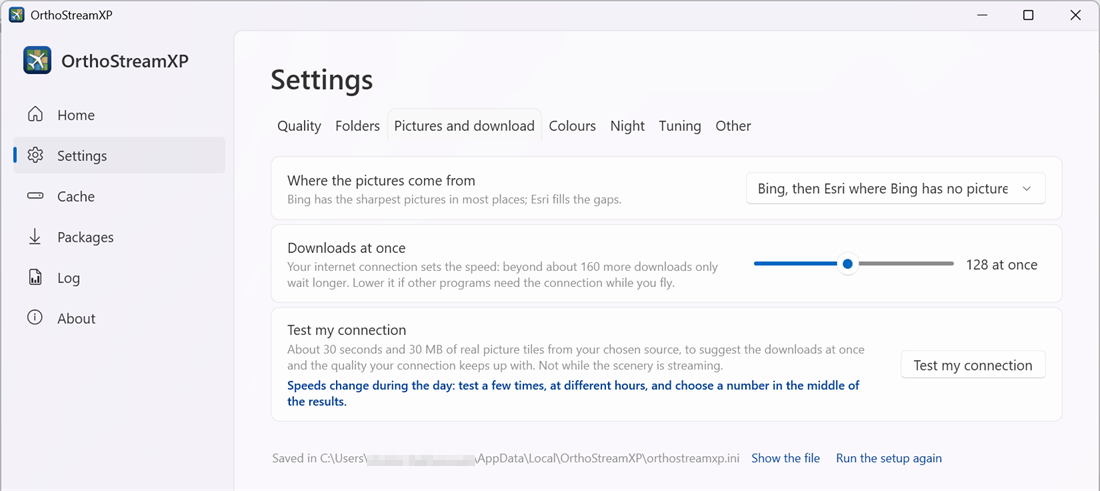
- Where the pictures come from: the imagery source.
- Bing, then Esri where Bing has no picture (recommended): the sharpest pictures in most places.
- Bing only.
- Geoportal in Poland (national orthophoto), Bing and Esri elsewhere.
- Downloads at once: how many pictures download in parallel, from 16 to 256. Your internet connection sets the real speed; beyond about 160, more downloads only wait longer. Lower this if other programs need the connection while you fly.
- Test my connection: about 30 seconds and 30 MB of real picture tiles from your chosen source. It suggests a value for Downloads at once and the quality your connection can keep up with. When its suggestion differs from your setting, a Use N at once button applies it. The test cannot run while the scenery is streaming. Speeds change during the day, so test a few times at different hours and choose a number in the middle of the results.
Colours
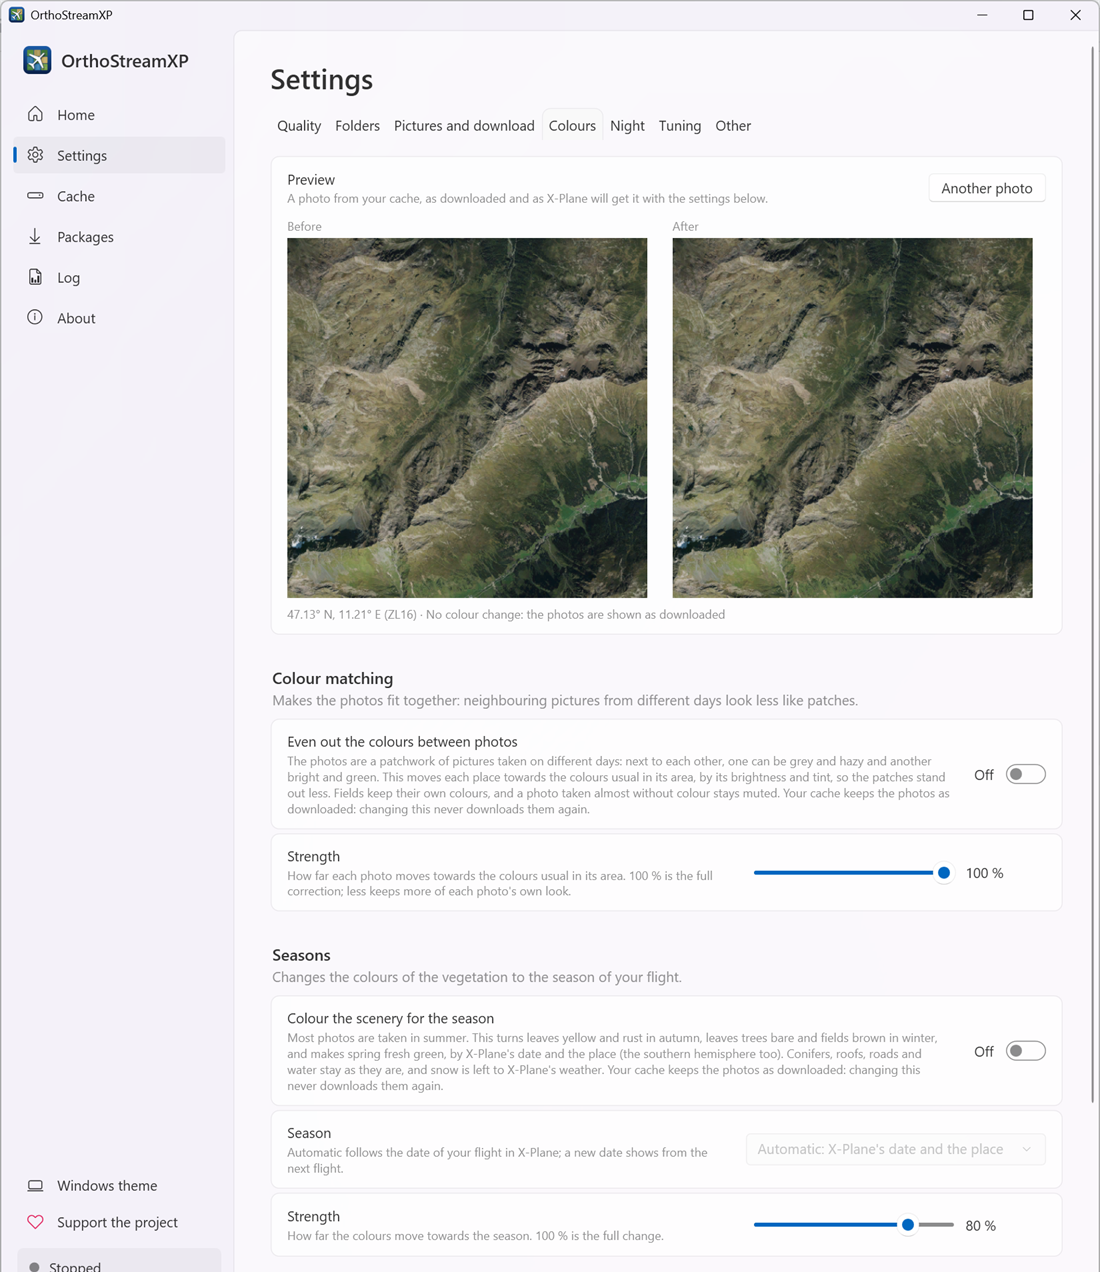
Preview
The top of the tab shows a photo from your cache twice: Before (as downloaded) and After (as X-Plane will get it with the settings below). It updates as you change them, and Another photo picks a different one. The preview needs a cache folder with at least one flown area in it. It works while the scenery is streaming too.
Colour matching
Aerial photos are a patchwork of pictures taken on different days, so one patch can look grey and hazy next to a bright green one.
- Even out the colours between photos moves each place towards the colours usual in its area, so the patches stand out less. Fields keep their own colours.
- Strength sets how far the colours move: 100 % is the full correction, and less keeps more of each photo's own look.
Seasons
Most aerial photos are taken in summer.
- Colour the scenery for the season changes the vegetation to match X-Plane's date and your location (southern hemisphere included):
- Spring: fresh green.
- Autumn: leaves turn yellow and rust.
- Winter: deciduous trees look bare and fields turn brown.
Conifers, roofs, roads and water keep their colours, and snow is left to X-Plane's weather. - Season: Automatic follows X-Plane's date and the place; a new date takes effect from the next flight. You can also force one season everywhere: Early spring, Spring, Summer (the pictures as they are), Early autumn, Autumn, Late autumn or Winter, without snow. - Strength: how far the colours move towards the season. 100 % is the full change.
Exposure
Exposure darkens photos that look too bright next to X-Plane's own scenery, like a camera's exposure. 100 % shows them as downloaded; 50 % is one stop darker.
All the colour options only change how the photos look. The cache keeps the photos as downloaded, so changing them never downloads anything again.
Night
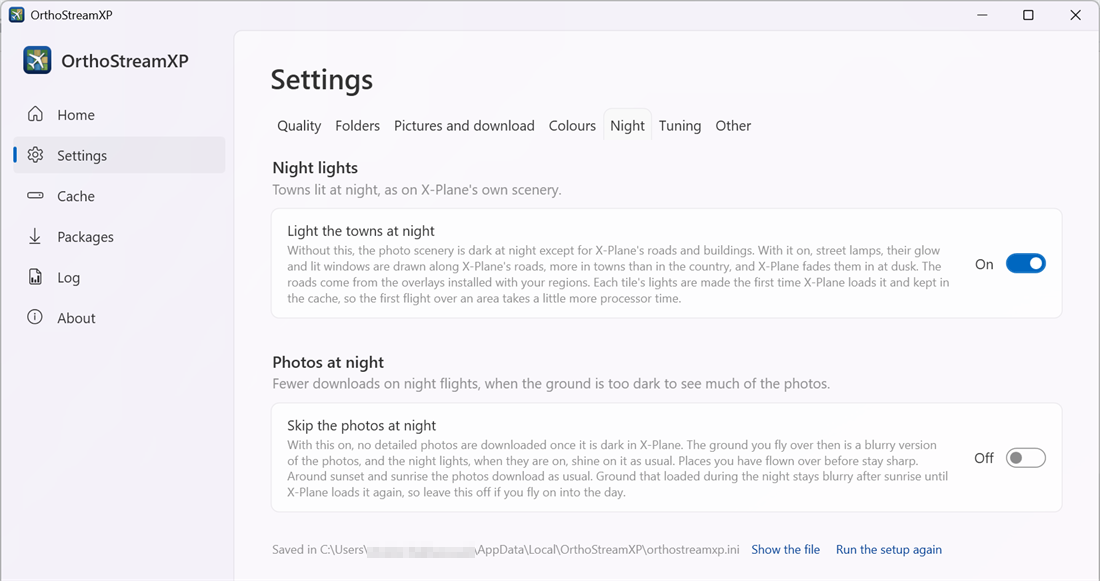
How the photo scenery looks after dark. Both switches are Off by default and work independently: you can have the lights without skipping the photos, skip the photos without the lights, or both.
Night lights
X-Plane's own scenery glows at night where there are towns. Photo scenery replaces that ground, so without night lights a town on the photos is dark except for X-Plane's 3D roads, cars and buildings.
Turn on Light the towns at night to give every photo tile its own lights:
- street lamps along X-Plane's roads: a lamp every 28–45 m depending on the road, mostly warm sodium orange with some white LEDs, a few of them out;
- a soft glow around the lamps, which stand beside the road so that X-Plane's 3D roads (or an overlay's, like simHeaven's) do not cover their light;
- a faint, even light from the houses along town streets.
How many lamps are lit and how bright the houses are depends on how built up the place is: a town centre is fully lit, a village keeps all its lamps, and in the open country only a few lamps along the roads shine. Between the lights the photo stays dark; X-Plane fades the lights in at dusk by itself.
The roads come from the overlay package installed with your regions (OrthoStream_Overlays), or from another overlay package in X-Plane's Custom Scenery. Where no overlay package covers an area, its photo tiles stay dark at night.
X-Plane loads the lights with the scenery, by day too, so they are there when night falls during a flight. The lights get the same detail as the photos under them at every distance, up to about 3 m per pixel beside the aircraft. Each tile's lights are made the first time X-Plane loads that tile, and again with more detail as you come closer; only the detail X-Plane reads is kept in the cache with the area's photos, compressed (about 50 KB per tile; a 20-minute flight around Zurich kept 160 MB), so the first flight over a new area uses a little more processor time and later flights none. Your scenery packages are not changed. Off is the default; a change applies from the next start.
Photos at night
At night the ground is dark and you see little of the photos, so downloading them in full detail mostly costs bandwidth and processor time. Turn on Skip the photos at night to save that on night flights:
- While it is dark in X-Plane (the sun more than 9° below the horizon), OrthoStreamXP downloads no detailed photos. The ground you fly over is a blurry version of the photos, made from the small overview pictures it already keeps for far-away scenery.
- The night lights still work. With Light the towns at night on, the street lamps and houses shine on the blurry ground as usual, as sharp as ever.
- Places you have flown over before stay sharp: photos already in the cache are shown as they are.
- Around sunset and sunrise the photos download as usual, while there is still light to see them by: from sunset until well after the sky starts to darken, and again from early dawn.
OrthoStreamXP reads the time of day from X-Plane. When a flight starts, X-Plane first loads the area around the aircraft, and only then, once the flight is running, says what time it is. So the area where a flight starts still gets its photos, even at night, and the saving starts from there: everything X-Plane loads as you fly on.
If you fly on into the day, ground that loaded during the night stays blurry after sunrise until X-Plane loads it again, which happens as you fly on into new areas. Leave this off for flights that end in daylight. Like every setting, a change applies from the next start.
How dark it must be is set in the settings file (Show the file), not on the page: skip-photos-sun-below = 9 is the sun's height below the horizon in degrees, from 0 to 18. A higher number keeps the photos longer at dusk and brings them back sooner at dawn; a lower one skips more of the twilight.
Tuning
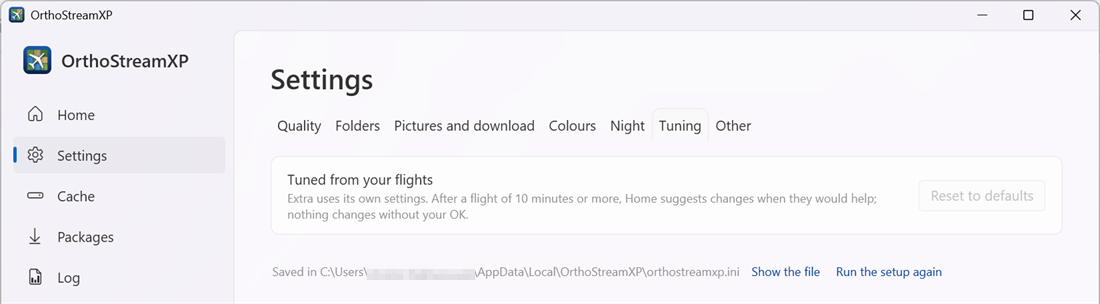
After flights of 10 minutes or more, Home may suggest settings for your preset (see Flying › Tuning suggestions). The tab lists each setting the tuning changed, with the preset's own value beside it. Reset to defaults puts every setting back to the preset's tested values and forgets what was tuned; it asks first. The folders, the picture source and Downloads at once stay as they are.
Other
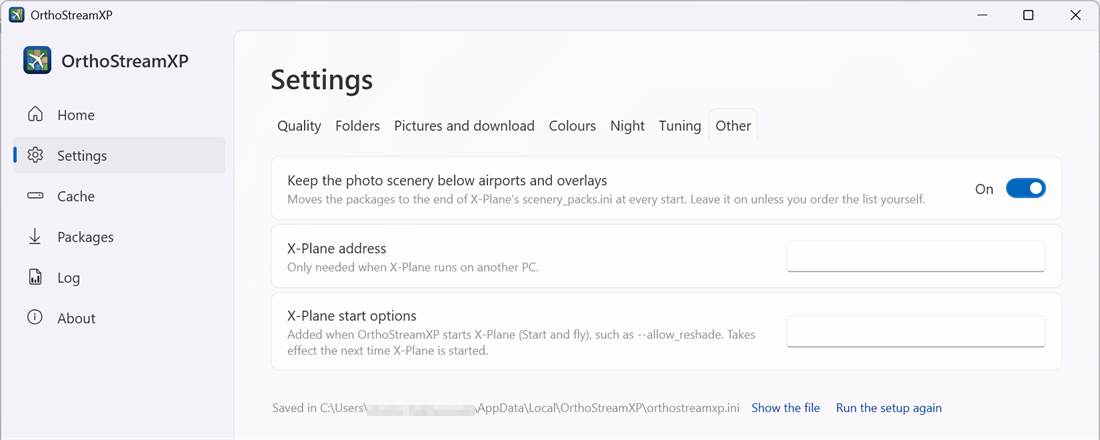
- Keep the photo scenery below airports and overlays: at every start, moves the packages to the end of X-Plane's
scenery_packs.ini, so airports and overlays draw on top of the photos. Leave it on unless you order that list yourself. - X-Plane address: needed only when X-Plane runs on another PC.
- X-Plane start options: command-line options added when Start and fly starts X-Plane, for example
--allow_reshade. They take effect the next time X-Plane starts.
Next: Cache